


Need help getting started on this week's WTFoto Challenge? Look no further! In this tutorial, I will teach you how to create simple chalk symbols and writing in Photoshop. So read through this post and try it out yourself—or I'll tell your cousin what you said when you were drunk that one time. Keep in mind that the steps are similar for other programs, such as GIMP.
Step 1 Create a New Photoshop File
First, decide what background you want your chalk symbol to be on. Brick, stone—the pavement surrounding a dead prostitute? This is an important choice, as you want it to be something that contrasts with the color of the chalk, but on which you can also see the chalk's texture. You can find wall textures by simply searching on Google for wall texture images or by going to sites like Image * After.
To get the texture into Photoshop, you can either download the image and open it in Photoshop or right-click, copy, then paste it in Photoshop. Finally, you could download the photo, print it, scan it, upload it to imgur, and download again—if you wanna go for that 'meta' feel.
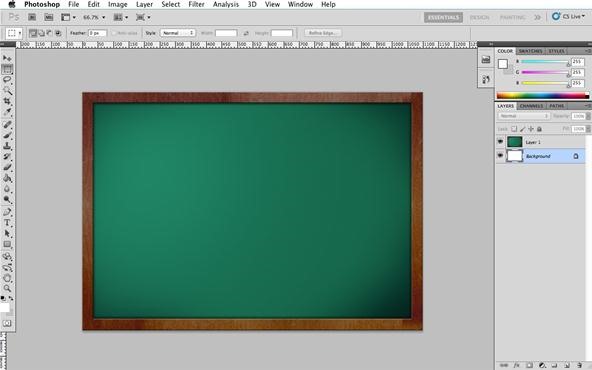
Photoshop automatically creates a canvas to match the image size you've copied onto your clipboard when creating a new file. Photoshop loves you, remember that.
Step 2 Create a New Layer
The key to using a complex software like Photoshop lies in layers. Layers are what allow artists and designers to break up the components of their works so that fine edits on an isolated aspect don't require them to start from scratch. Layers are also popular in cakes, evil villains' hideouts, and threesomes. It also allows you to create components that can be turned on and off, which could serve as a way of creating different versions within the same document.
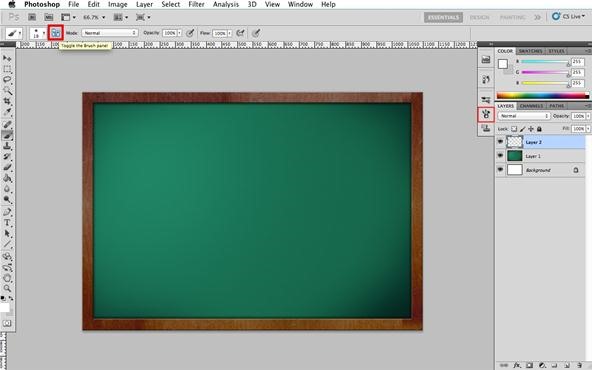
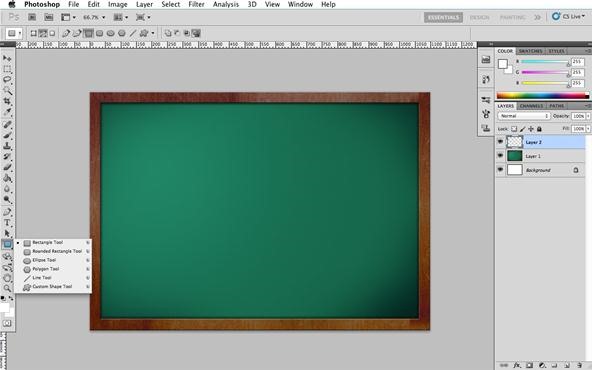
To create a new layer, you can either click on the button we've pointed out below in red, or go to Layers > New > Layer. It's the same route for GIMP, too.
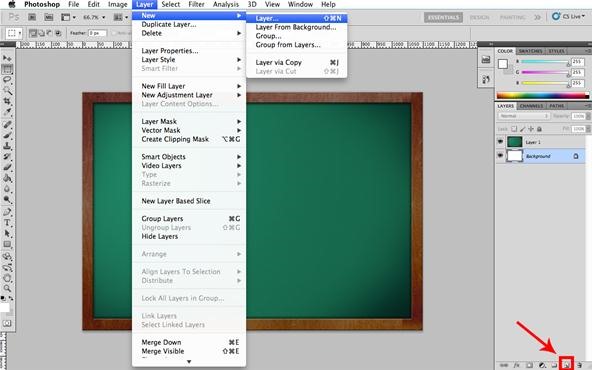
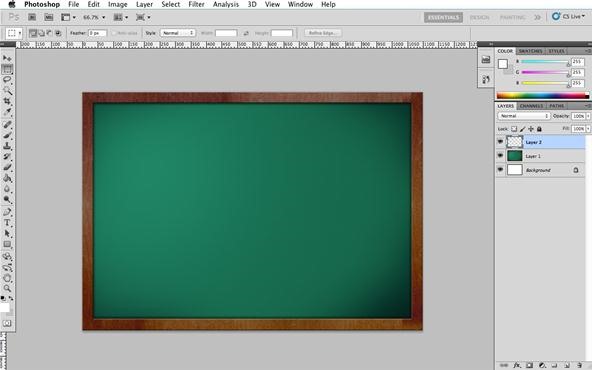
When you've done that, you should see a new layer named 'Layer 2' (or 'Layer 1', if you are working from an image you have saved) above the background image.
Step 3 Create a New Brush
Brushes are to a Photoshop drawing what timbre is to a musical piece. They give texture to the overall composition, like boos at a Nickelback concert.
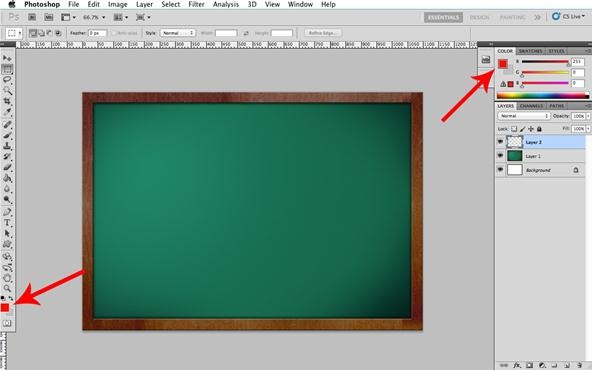
Select the brush tool by either pressing 'b' on your keyboard or by clicking on the icon shown below. When you do so, you should see a brush options appear above your tools. If you don't, call the police immediately and report an ongoing crime in your adobe/abode.

The boxes indicated below represent the color of the brush. To change colors, just click on either one and a color picker will appear from which you can choose the color of your choice. In Photoshop, we call this "MJ-ing."
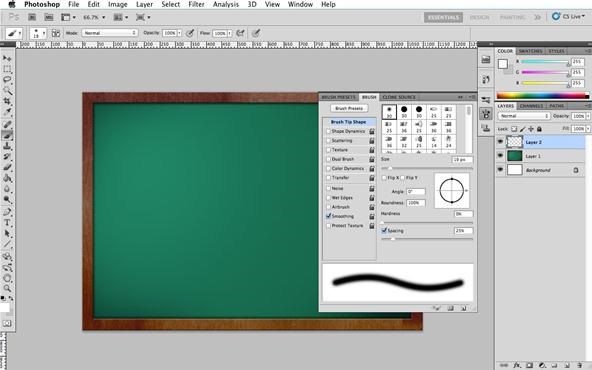
With that done, it's now time to actually make the brush. Click on the Brushes panel. It can be found as follows:
A brushes panel should appear which shows you all the properties of your default brush. Mine is a Maison Pearson Boar and Nylon Bristle Hair.
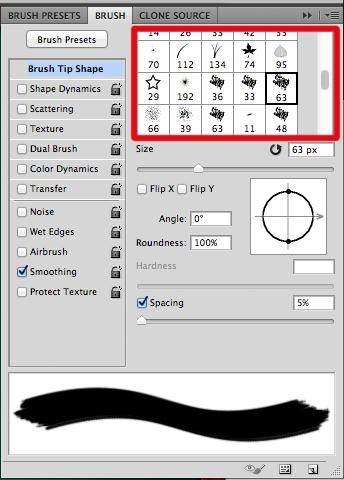
Select the 63 brush that appears below the leaf and after the 33 brush.
To get the brush's stroke to appear more like chalk, we need to bring out the coarseness of the edge, like whiskey does to my father. To do so, we increase the spacing so that a stroke doesn't appear as smooth. We can also change the size according to how big or small a drawing we want to create.
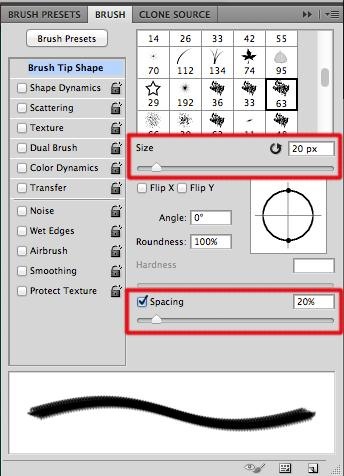
It's always a good idea to do this last, as you can do a test stroke, then undo (cmd+z / ctrl+z) till you are happy with the size. I'm still not satisfied with mine. Undo the test stroke so the canvas remains empty.
Finally, to make it look exactly like chalk, we'll add texture to the brush. Click on the check box next to texture, and when you see a new set of options, such as below, change the scale to 85%.
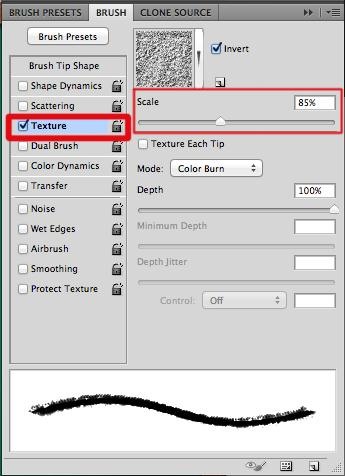
Your chalk brush is now ready for drawing!
Step 4 Drawing
If you are really good at drawing with a mouse, or you have a graphic tablet and are comfortable with the pen, you can go ahead and draw your symbol on a new layer. If, like me, you can't draw, express this with a rage smiley.

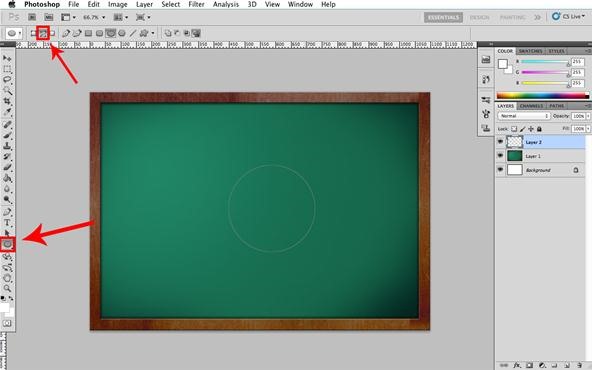
All symbols can be broken down in terms of circles (like boobs) and polygons (like Tila Tequila's boobs). You can draw these very easily with the chalk brush you've created by using Photoshop's Shape tool.
Once you've selected the shape you want from the shape tool menu above, make sure that you have 'Paths' turned on. This option can be found in the shape tool options above the tool bar. Once that's selected, click and drag anywhere on the canvas. If you are holding shift down while you're doing this, you'll only draw circles. If not, it's more likely to be an ellipse. If you hold the power button while you do this, unicorn eggs will pop out of your CD drive.
Once that is done, click on the path selection tool. This is the black cursor that is right above the shape tool. Here's one we prepared earlier.

This tool helps you move the path you've created. Once you've moved it to where you want, you can right click on the path and you should see a drop down as follows:
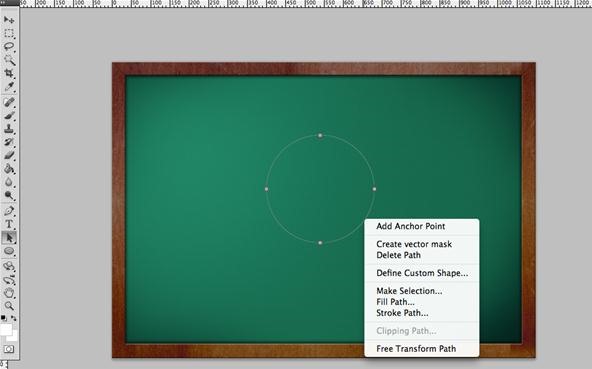
Select "STROKE PATH" and you should see a dialogue pop up that asks you if you want to draw a stroke with the brush tool. What a dilemma; should you or shouldn't you?!
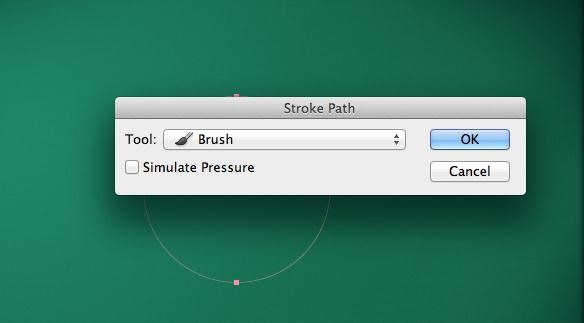
If you said you should, congrats. Clicking OK will result in a brush stroke on the layer you have selected (should be the new layer you created in Step 1) using the chalk brush we just created.
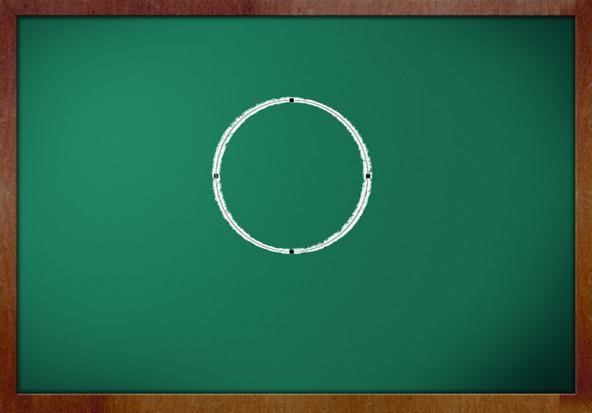
Now just press the delete key to remove the path and voilà, you have a shape drawn in chalk. Pat yourself on the back or microwave another Hot Pocket. Whatever works.

Step 5 Repeat with New Shapes
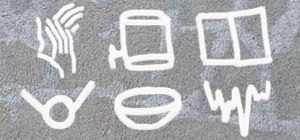
Now, create a new layer just like you did in Step 2 and repeat Step 4 by either selecting a new shape or choosing the same shape and drawing it elsewhere on the canvas. Using this method, you can literally create anything—even a better and healthier you, through excessive finger exercise.
When you are done with your symbol, save the .psd file so you can come back and edit your work. To export the image, go to File > Save for Web and Devices.
Select either JPG or PNG and click OK. DO NOT CLICK CANCEL. CANCEL IS NOT OK.
PHEW! Well that was a wild ride. Hopefully this tutorial helped you out with some new techniques for this week's WTFoto Challenge! If not, and you knew this stuff like cake, you're a nerd. Yeah, that's right, I said it.
If you want feedback or advice on your chalking technique from a certified expert in cheese whittling (me), then feel free to post some work on the corkboard.
Until we meet again, Photo Spelunkers.
Follow us like it ain't no thang:
Main image by Tara Jones
Just updated your iPhone? You'll find new emoji, enhanced security, podcast transcripts, Apple Cash virtual numbers, and other useful features. There are even new additions hidden within Safari. Find out what's new and changed on your iPhone with the iOS 17.4 update.


5 Comments
THIS is great. Despite my networking and computer knowledge I am pretty much my 90yr old grandmother when it comes to Photoshop. I fumble about and yell when I mess things up. Articles like this make it MUCH more easy to pick up and go with my edits. Thanks!
Yeah, this is great! It's literally step by step, which means no one can mess it up! Well, maybe some still will, but this was very helpful for me, too.
Hahahaha hilariously written and informative article, great job!
Thank you for making a tutorial that is not only detailed and easy, but doesn't make me fall asleep.
you are great!
Share Your Thoughts