

Who doesn't love Star Wars? No one, that's who. And if you love Stars Wars, logic would follow that you like lightsabers, so central are they to the tale's mythology. It's part sword, part laser, and makes a sound like a humming motor have multigasms. If I saw one in real life, I would struggle not to lick it, even though that would mean death.
Let's make our own, shall we?
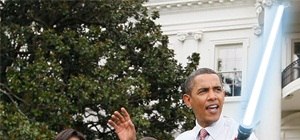
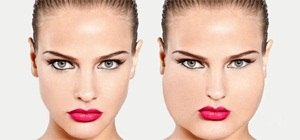
Step 1 Get a Photo
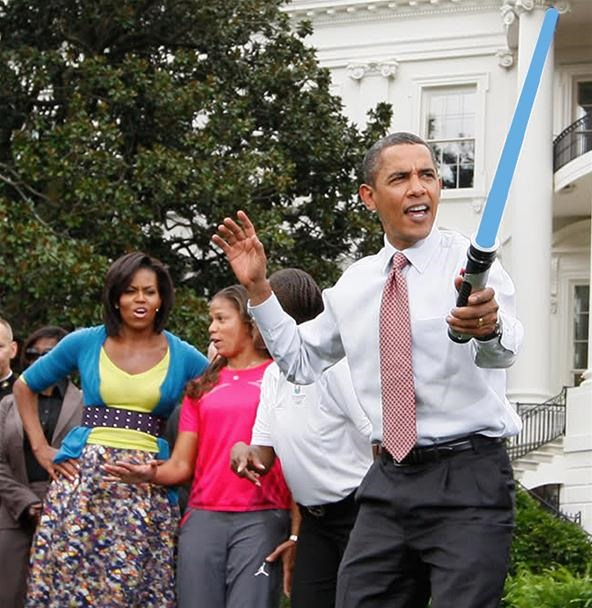
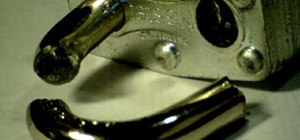
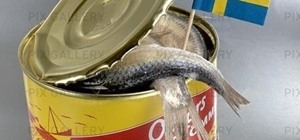
Find a photograph of a friend, family member, random person, or the President of the Free World holding a lightsaber toy.
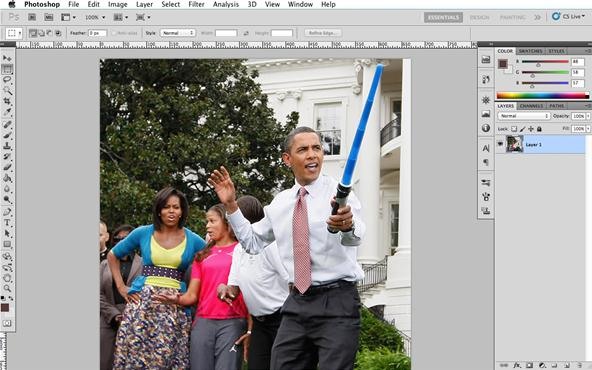
Step 2 Draw the Lightsaber
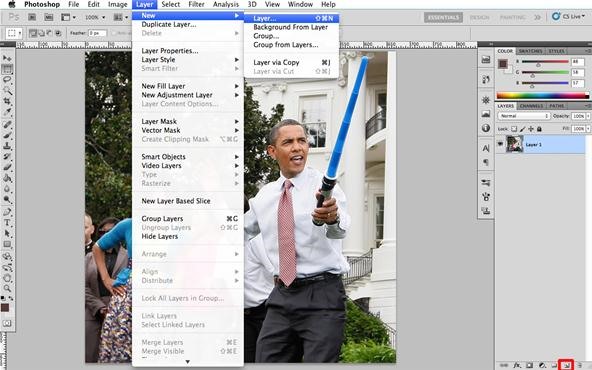
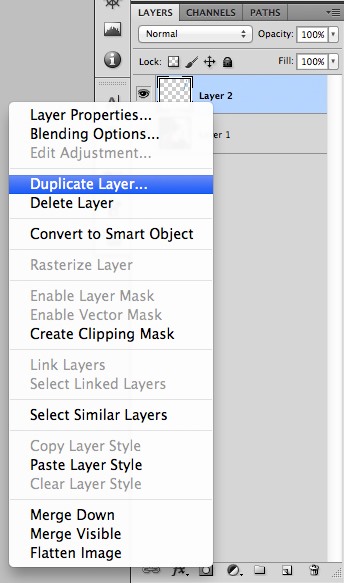
Create a new layer by either pressing Shift+Command/Ctrl+N or by going to Layer > New > Layer... or by clicking on the button we've highlighted. Click it in Photoshop, not here in your browser. That won't work.
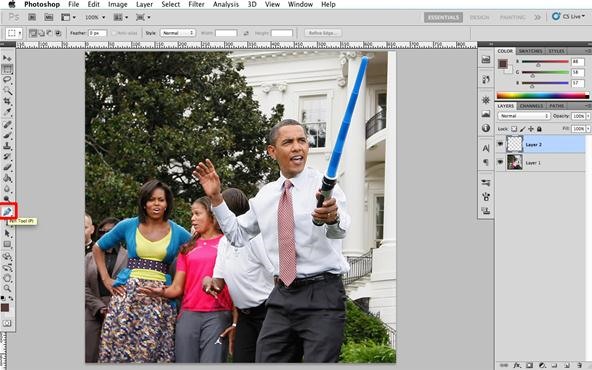
Select the pen tool by either pressing 'P' or by clicking on the button highlighted below.
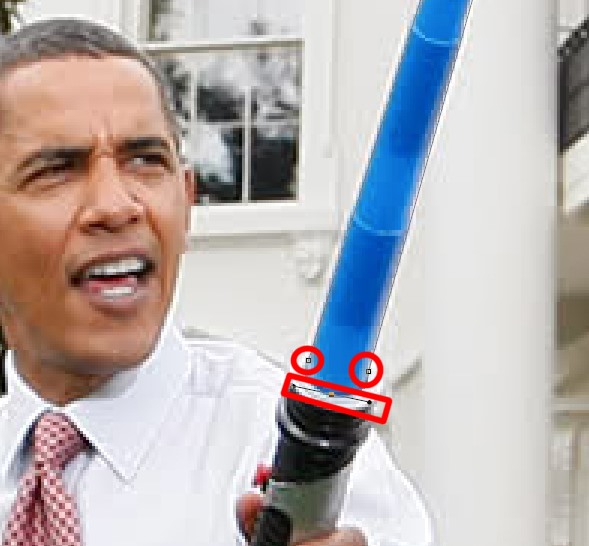
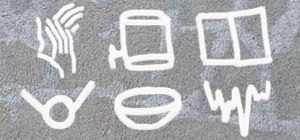
Trace the lightsaber by putting anchors at the points you want to be connected by lines. To create a curve, click on the widest point of the curved surface, press and hold until you see a tangent. To get a good smooth curve, try and make the tangent as long as you want the curve to be. In the picture below, the tangent extends from the left edge of the lightsaber to the right edge to create a smooth curve at the bottom. Speaking of tangents, has anyone noticed how the little diagram below looks like the IM A FIRIN' MAH LASER face?
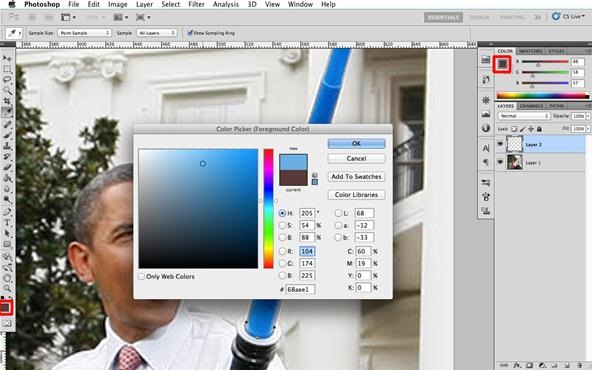
Click on either of the colored boxes we've highlighted to bring up a color picker. This sets the foreground color we want to fill the lightsaber with. Try and pick a fluorescent color. Think Madonna in the '80s, or the vomit of someone who has been drinking Blue Curaçao.
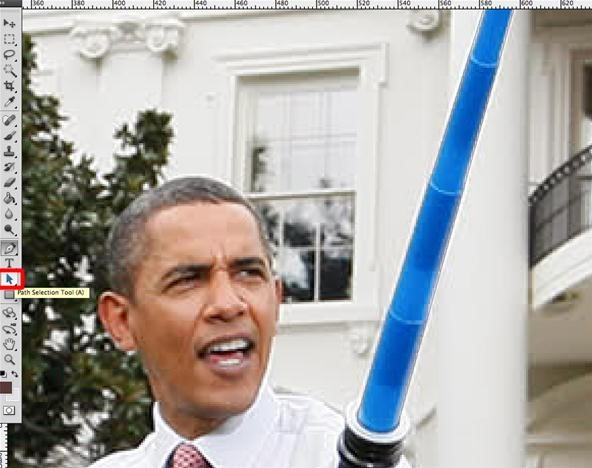
To fill the drawn area with the selected foreground color, click on the Path Selection Tool by either pressing A or clicking on the tool we've highlighted.
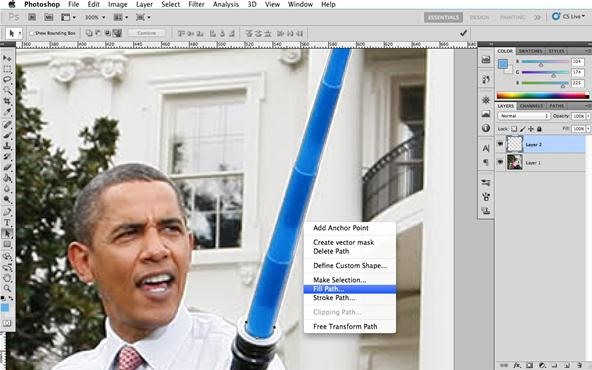
Once you've selected the tool, right-click anywhere on the path of Layer 2 and select Fill Path. This is a time where you should take the path more traveled.
When prompted with a dialogue box, make sure have the foreground color option selected. When you click OK, you should see the following:
Step 3 Create the Effect
Right-click on the layer filled with the solid lightsaber color and select Duplicate layer. Do this again so you have three layers above Layer 1. Layer 1 is a massive bottom bitch in this tutorial.
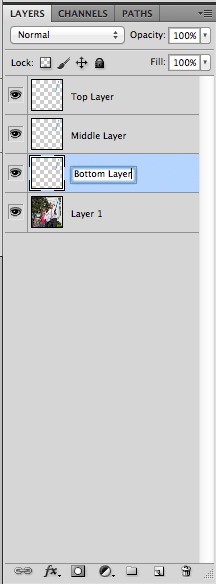
Click on the names of the layer until you see a text box appear and rename each layer, as follows. If you don't use these exact names, Cthulhu will rise from the shadow realm and erase the memory on your favorite gaming console.
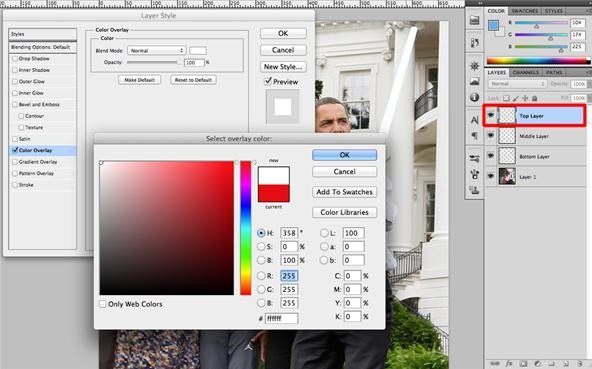
Select the top layer and double-click on it so a Layer Style options dialogue pops up. Click on Color Overlay and select the check box next to it. By default, you will see a red box next to the 'Normal' drop down. Click on this to open a 'Select Overlay Color' dialogue. Red is bullshit, don't let Photoshop trick you. Make sure you select white. This layer will be the central part of the light saber, also known as the 'ouchie zone,' after Kevin Ouchie, who got his hand cut off by a saber during the filming of the cantina scene in a A New Hope.
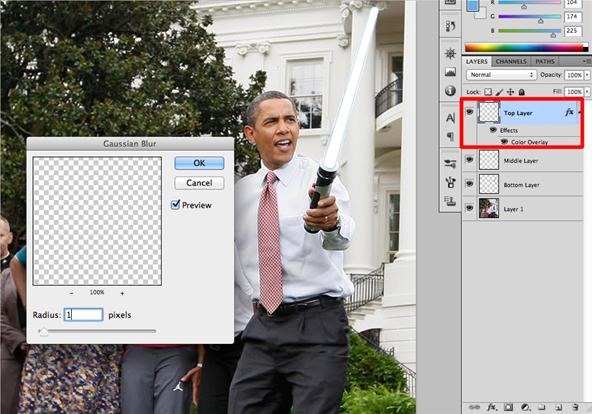
While the Top Layer is selected, go to Filter > Blur > Gaussian Blur. Keep the radius low, because we just want to soften the edges a bit. You got to treat it like a lady, guys.
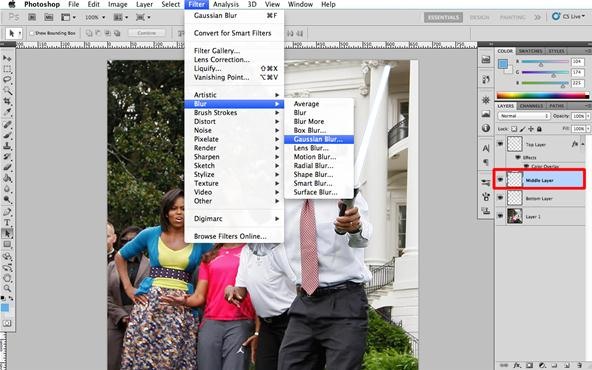
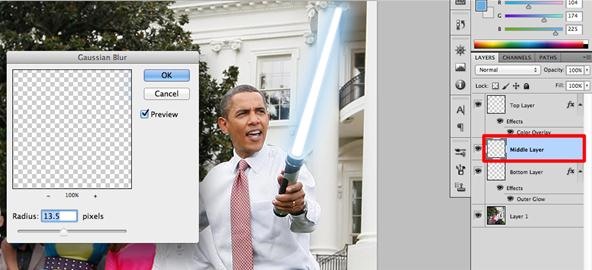
Select the Middle Layer and once again go to Filter > Blur > Gaussian Blur.
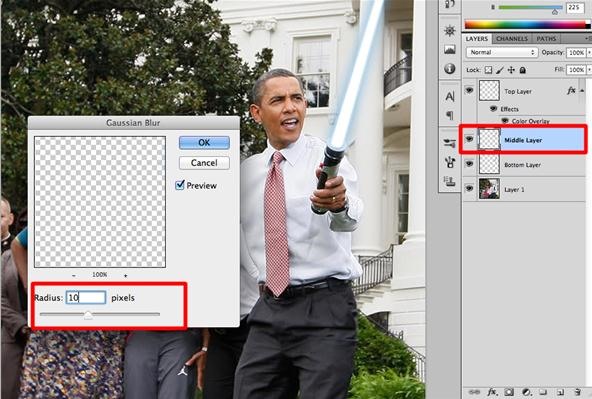
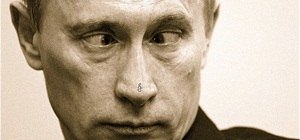
However, this time increase the radius until you start to see the blurred color bleeding under the white like so (even Obama looks impressed):
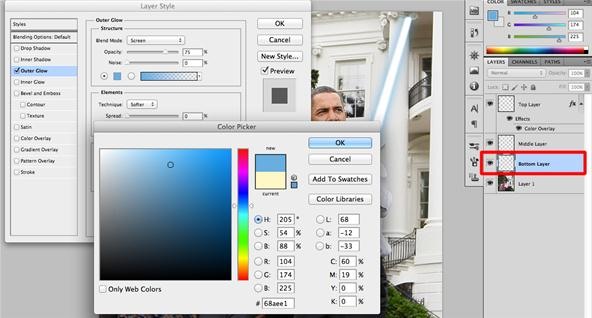
Now, select the layer below ('Bottom Layer'), double-click to open the Layer Styles and select 'Outer Glow'. Sounds pretty logical for a lightsaber, right? Photoshoppers, like Jedi, are logical and don't get laid much. Click on the solid color (default: a creamy yellow) and change it to match the color you had initially selected as your foreground color. The simplest way you can do this is by simply clicking on the foreground color while the Color Picker is open. For some reason, writing the phrase "Color Picker" feels strangely racist...
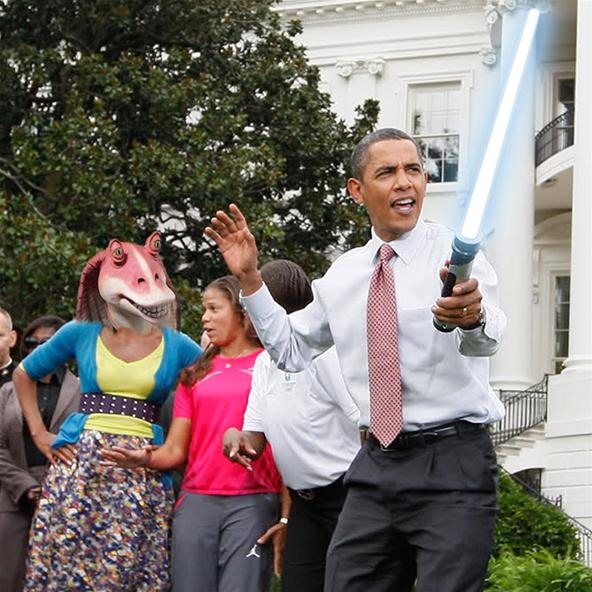
When you click OK, your lightsaber is done! Obama can now kill space terrorists! If you feel you need to fix the glow a bit more, click on the Middle Layer, go back to Filter > Blur > Gaussian Blur and blur it up some more. Tweak it until you get it so good that George Lucas sues you.
When you're done with all your tweaks and fixes, you should have transformed the toy/stick in the original photograph into a cool lightsaber. Michelle is impressed!
Make your own awesome lightsaber pic and post it on the CORKBOARD!
Also, if you don't enter our WTFoto Bro Code Challenge this week, you're as silly as people who think Greedo shot first. Show us what you can do! Every entry will get a piece of enriched uranium!
Follow us like it ain't no thang:
Just updated your iPhone? You'll find new emoji, enhanced security, podcast transcripts, Apple Cash virtual numbers, and other useful features. There are even new additions hidden within Safari. Find out what's new and changed on your iPhone with the iOS 17.4 update.


1 Comment
Nice tut! Step 2 3rd picture looks like "Imma firin mah lazer!" Also lightsabers arent tapered :P but the process is what were looking at and its very well done and easy to understand
Share Your Thoughts